1/13/2014

葵花籽枸杞麵包 Sunflower Seeds Goji Bread


Goji is often used in Chinese congee and soup, mostly with other herbs. That's why when I think of goji, there's always a memory of slightly sweet and bitter taste -- it doesn't come from goji but other herbs. 

But when used in bread, goji is just dried berries. 


枸杞通常用在中式的粥品或湯品,而且常常會和其他中藥材一起用。我想這是為什麼每次想到枸杞,記憶中總是有微甘微苦的滋味,那其實不是來自枸杞,而是其他藥材。

但當用來做麵包的時候,枸杞其實就是乾燥的莓果類呀!


Nice chewy crumb. Nice flavor. | 有嚼勁的組織,味道很好喔


Sunflower Seeds Goji Bread

Ingredients:
  • an 1-pound dough of European peasant bread, or can use any kind of bread dough
  • sunflower seeds, toasted at 350F for 6-8 minutes, I used about 25 grams.
  • goji, I used 15 grams.


Directions:
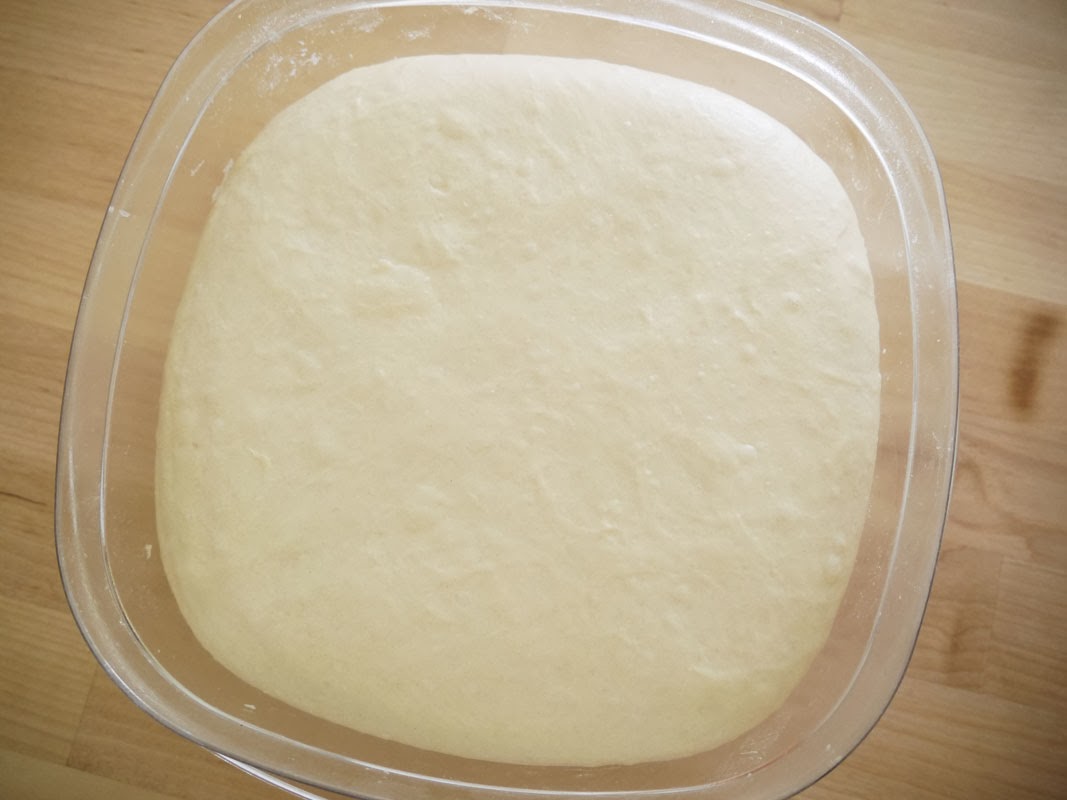
  1. After 1st rise (or take it out from refrigerator,) scrap the dough out and flatten it.
  2. Spread sunflower seeds and goji evenly onto the dough. Gently roll it up.
  3. Put the dough on a baking sheet, seam side down. Cover with plastic wrap and let it sit for 70-90 minutes.
  4. Preheat the oven at 450F. Dust and slash the dough. Put the dough in and use a water sprayer to create steam in the oven. Shut the door and spray again in 30 seconds. Repeat twice. Bake for a total 30 minutes.
  5. Let it cool.


葵花籽枸杞麵包

材料:
  • 歐洲鄉村麵包的麵團一份,也可以使用任何一種麵包麵團
  • 葵花籽,以 350F/175C 烘烤 6-8分鐘,我用了大約 25克
  • 枸杞,我用了約 15克


做法:
  1. 麵團第一次發酵完成後(或是從冰箱中拿出來之後),將它刮到桌面上並推壓成平面。 
  2. 將葵花籽和枸杞均勻鋪上,輕輕捲起。 
  3. 將麵團放到烤盤上,接合處朝下,用保鮮膜覆蓋靜置 70-90分鐘。 
  4. 烤箱預熱 450F/230C。麵團表面撒些麵粉、用刀劃線,放入烤箱。往烤箱內壁噴幾下水,迅速關上烤箱門將蒸汽關在裡面,30秒後再次噴水、關上烤箱門,共重複二次。總共烘烤 30分鐘。 
  5. 出爐後在架上放涼。 


Pin It

1/12/2014

烤吉拿棒 Baked Churros


Oh churros! Of course baked version is not as crispy as fried. But they're lighter, healthier. Eat them when still warm with cinnamon sugar, they're satisfying enough! I also tried pan-frying and it worked as well. 

I left some of them naked for my toddler and husband. Too much sugar consumption is not good for little kids. And my hubby, he's not a fan of cinnamon. These churros taste fine without it.

吉拿棒!!當然用烤的不像用炸的那麼香酥,但是比較清爽健康。還溫溫的時候裹著肉桂糖吃,也夠解饞了!我還另外試了用平底鍋煎,效果也還OK喔。

我沒有全部都上肉桂糖,一方面不想讓兒子吃太多糖份,一方面是我老公不愛肉桂。單吃也還不錯啦,有點像略帶點鹹味的小小雞蛋糕。


Pan-fried. | 平底鍋煎的效果。

Pan-fried, coated with cinnamon sugar. | 平底鍋煎,裹上肉桂糖。

Before baking. | 進爐烘烤前。


Baked Churros (yields 16-20 4" churros)

Ingredients:
  • water 2/3 cup
  • unsalted butter 2/3 sticks (75 g)
  • salt 1/3 teaspoon
  • all-purpose flour 2/3 cup (83 g)
  • egg 2
  • vanilla 2/3 teaspoon
  • cinnamon sugar 1/3 cup


Directions:
  1. Preheat the oven at 350F.
  2. In a medium sauce pan melt and mix water, butter, and salt. Bring to a boil and remove from heat.
  3. Add flour and mix until well combined.
  4. Add one egg at a time. Mix until smooth before adding another egg.
  5. After all the eggs are added and mixed well, mix in vanilla.
  6. Spoon the mixture into a pastry bag with a large star tip. Pipe 4" sticks on a baking sheet.
  7. Bake for 20 minutes. For my oven they're best at 22-23 minutes.
  8. Coat with cinnamon sugar as desired.


烤吉拿棒(約 16-20根 4吋吉拿棒)
食譜修改自 Confessions of a City Eater

材料:
  • 水 2/3 杯 (156 ml)
  • 無鹽奶油 2/3 根 (75 g)
  • 鹽 1/3 小匙
  • 中筋麵粉 2/3 杯 (83 g)
  • 雞蛋 2 顆
  • 香草精 2/3 小匙
  • 肉桂糖 1/3 杯,或依個人口味增減


做法:
  1. 烤箱預熱 350F/180C
  2. 在鍋子中將水、奶油、鹽加熱混合,煮滾後熄火。
  3. 加入麵粉,混合均勻。
  4. 一次加入一顆雞蛋,混合均勻。
  5. 所有雞蛋都加入並攪勻之後,加入香草精。
  6. 將麵糊裝入擠花袋,以星形大擠花嘴在烤盤上擠出 4吋長的條狀。
  7. 放入烤箱烘烤 20分鐘。(我的烤箱多烤 2-3分鐘比較剛好)(也可以用平底鍋煎,鍋熱之後以中小火煎到兩面金黃,不用加油!)
  8. 依個人喜好裹上肉桂糖。


Pin It

1/09/2014

茄汁雞翅 Ketchup Wings


這份食譜是改編自松露玫瑰的「拯救小廚房的烤箱 100道」,松露姊姊的食譜都很淺顯易懂,成功率也很高喔!

Pin It

1/05/2014

吳寶春金牌牛奶吐司 Pao Chun Wu's Gold Medal Milk Loaf


Loaf #2 | 第二條:
2nd Try: Pao Chun Wu's Gold Medal Milk Loaf | 二試:吳寶春金牌牛奶吐司
Loaf #3 | 第三條:
3rd Try: Pao Chun Wu's Gold Medal Milk Loaf | 三戰:吳寶春金牌牛奶吐司


Pao Chun Wu is the champion of Master Bakers, the Coupe du Monde de la Boulangerie (the World Cup of Baking) in 2010. Inspired by his work, I had made fermented rice longan bread. He's generous with his recipes. I've seen this milk loaf made by numerous home-bakers and it seems that everyone who has tasted it is raving about it.

The original recipe uses bread flour, but I always use all-purpose kind. That may be the main reason why my loaf is not as delicate and elastic as it should be. Maybe someday I'll get some bread flour and give it another try. This loaf made with all-purpose flour tastes great enough anyway.

吳寶春是 2010世界麵包大賽大師賽(個人賽)的冠軍 ,受到他的作品啟發,我曾經做過這款甜酒釀桂圓麵包。吳寶春師傅對於分享他的配方相當大方慷慨,我也在網路上看過無數的家庭烘焙做了這款金牌牛奶吐司,而且似乎吃過的都說讚,人人津津樂道。

原始的配方使用的是高筋麵粉,而我習慣上一直都是用中筋麵粉,我想這是我的吐司做出來質地沒有那麼綿密細緻會牽絲的主因。也許哪天買一些高筋麵粉來試試看,不過用中筋做出來也已經非常好吃了!

Look how soft it is! | 吐司軟到會下腰


There's also one thing to consider: Master Wu emphasizes on the fermenting temperature. He says 26-28C/78-82F is the best. So in this recipe there's no need to use warm water or warm milk, cold liquid is fine. And this is a high-hydration dough, it will be easier to handle it when it's cool.

還有一點要注意的是:吳寶春師傅很強調發酵的溫度控制,他認為 26-28C是最適當的,因此這份食譜不需要使用溫水或溫牛奶,冷的就好了。而且這個麵團含水量很高,溫度低一點也比較好操作,比較不會那麼黏手。


The original recipe (Pullman loaves)
water 450 g, milk 230 g, yeast 10 g, salt 18 g, sugar 80 g, bread flour 1000 g, butter 50 g
Bake at 390F for 40 minutes.

原版食譜(帶蓋吐司)
水 450 克、牛奶 230 克、酵母 10 克、鹽 18 克、糖 80 克、高筋麵粉 1000 克、奶油 50 克
390F/200C 烤 40分鐘


Gold Medal Milk Loaf (9x4)
Adapted for my loaf pan.

Ingredients:
  • water 167 g
  • milk 85 g
  • yeast 4 g
  • salt 7 g
  • sugar 30 g
  • flour 370 g (original recipe calls for bread flour; here I used all-purpose flour.)
  • butter 19 g

Directions:
  1. Mix everything except for the butter to form a dough. Knead the dough and gradually add the butter.
  2. When the dough is well kneaded, cover and let it rise for 1 hour.
  3. Scrape the dough out. Punch down and divide into 2. Roll each dough out, flip, then gently roll up. Cover with damp cloth or plastic wrap, let them rest for 15-20 minutes.
  4. Roll the doughs out again, flip, then gently roll up. (Through rolling out and up for 2 times, the crumb will be more delicate.)
  5. Put the doughs into a prepared loaf pan (lightly greased if needed.) Cover with plastic wrap and let it rise until almost full.
  6. Bake in a preheated oven at 350F for 30 minutes.
  7. Cool on a rack.


金牌吐司(12兩;9x4吋)
已依我的模具尺寸調整過配方

材料:
  • 水 167 克
  • 牛奶 85 克
  • 乾酵母 4 克
  • 鹽 7 克
  • 糖 30 克
  • 麵粉 370 克(原版食譜是高筋麵粉,我這次用的是中筋麵粉)
  • 奶油 19克

做法:
  1. 將所有材料混合(奶油除外)均勻成團,搓揉過程中再慢慢加入奶油。
  2. 麵團揉到光滑有彈性後,加蓋第一次發酵 1小時。
  3. 將麵團刮出,輕壓排氣並分成兩份。將麵團擀開、翻面、輕輕捲起。以濕布或保鮮膜覆蓋,讓麵團休息 15-20分鐘。
  4. 再次將麵團擀開、翻面、輕輕捲起。(經過兩次擀開、捲起,吐司內部組織會比較細緻綿密。)
  5. 將麵團卷放入烤盤(若有需要防粘黏就刷上一層奶油。)以保鮮膜覆蓋,二次發酵直到將近滿模。
  6. 送入已預熱 350F/180C的烤箱烘烤 30分鐘。
  7. 放涼再切片。


Perhaps I let it rise too much. | 也許二發有點過頭了


Pin It

1/04/2014

核桃麵包 Walnut Bread


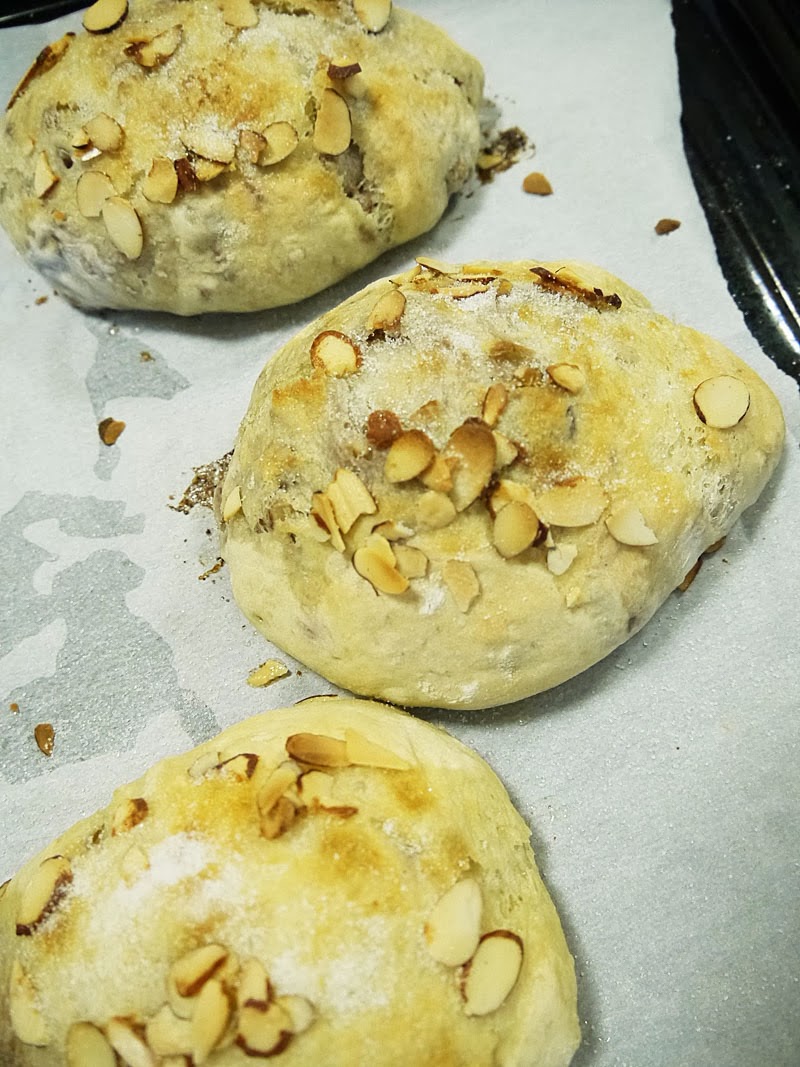
When I was in Taiwan there's a bakery named Johan. My favorite bread there was walnut bread. It was 7 or 8 years ago and I had never thought one day I'll make it myself. Last year during our trip back there, I cannot find this bread anymore. The clerk told me they no longer make this kind of bread.

Fortunately I can still find pictures of it on the internet and try to make it myself. It doesn't look like it perfectly but with the sliced almond and sugar on top, it tastes just as good as it was from Johan.


還在台灣時,我非常喜歡 Johan的核桃麵包,常常買來吃已經是七八年前的事了,當時我也從沒想過有一天我會自己做麵包。去年回台灣時想再去買,店員說這款麵包已經停產好一陣子了。

還好我仍然能在網路上找到一些核桃麵包的照片,然後試著把它做出來。雖然看起來並沒有很像,但是有了上面的杏仁片、砂糖粒,吃起來也是很好吃了!


Walnut Bread (yields 3)

Ingredients:
  • water 170 g, 100F
  • yeast 2.5 g
  • salt 4 g
  • all-purpose flour 228 g
  • walnut 50 g
  • butter, cut into strips
  • sliced almond
  • sugar


Directions:
  1. Mix water, yeast, salt, flour, and walnut to form a wet dough. Cover loosely and let it rise for 2 hrs.
  2. After 1st rise, put it into the fridge for baking it within days, or continue baking it.
  3. Line a baking sheet with parchment paper. Scrap the dough onto a floured surface. Quickly shape it into a ball without punching it down. Divide it into 3. Shape each dough into a torpedo. Put them on the sheet and let them rise for 70-90 minutes.
  4. Preheat the oven to 350F. Slash the dough and put on butter strips and sliced almonds. Bake for 22 minutes. (After 22 minutes baking I found the bread was not colored enough, so I switched to broil for 2-3 minutes.)
  5. Remove the bread from oven, sprinkle sugar onto it. Let it cool on a rack.


核桃麵包(3個)

材料:
  • 溫水 170 克,手摸溫溫涼涼的就可以
  • 乾酵母 2.5 克
  • 鹽 4 克
  • 中筋麵粉 228 克
  • 核桃 50 克
  • 無鹽奶油,切成細條狀
  • 杏仁片


做法:
  1. 將水、酵母、鹽、麵粉、核桃混合成團,室溫下靜置 2小時發酵。
  2. 一次發酵之後可以放入冰箱冷藏幾天,或是馬上接著烘烤。
  3. 準備好烤盤,若有需要就鋪上烘焙紙。將麵團刮出到撒了麵粉的桌上,不用壓扁排氣,迅速整成圓形,分成三等份,每份麵團再整成橄欖型(壓扁,上下折進來捏緊)。將麵團放上烤盤靜置二發 70-90分鐘。
  4. 烤箱預熱 350F/180C。麵團表面劃線、放上奶油條和杏仁片,送入烤箱烤 22分鐘。(烤好之後我覺得顏色不夠深,就用上火再烤 2-3三分鐘)
  5. 烘烤完成將麵包取出,表面撒上適量砂糖,放涼。


Pin It

紅豆餅 Red Bean Pancake


Well, thanks to Wikipedia, I didn't know that this Taiwanese street snack is actually from Japan until now, when I'm writing a post about it. (It's called imagawayaki in Japan.)

It's made with different fillings for different flavors. Red bean flavor is usually a basic, classic one. Following there are custard, taro, peanut butter, cabbage, even cheese flavor. Custard is my favorite and I tried making it once. This time I'm making red bean flavor.

Oh, and I'm very satisfied with the batter. My husband loves it, too. And my baby boy, he happily swings when eating it.

因為要寫這篇食譜,我才從維基百科知道原來紅豆餅是來自日本,叫做今川燒

紅豆餅有各式各樣的口味,紅豆當然是最基本的啦,奶油通常是我的最愛,高麗菜也不錯,還有芋頭、花生、起司口味等等。之前做過一次奶油的,這次來做紅豆的。

這個麵糊的配方相當好吃唷,我很滿意,老公也喜歡,兒子吃的時候還會開心的左右搖擺呢


Red Bean Pancake (8-10 pc.)

BATTER
Adapted from recipe.ytower.com.tw (Mandarin)

Ingredients:
  • eggs 2
  • sugar 30 g
  • salt 2 g
  • milk 100 g
  • water 100 g
  • vanilla extract 6 g
  • all-purpose flour 180 g + cornstarch 20 g (or all-purpose 40g + cake flour 160 g)
  • baking powder 3 g
  • vegetable oil 27 g


Direction:
Mix everything together and let it sit for 1 hr before use.


RED BEAN PASTE
Ingredients:
  • red bean 200 g
  • water 400 g
  • sugar 2 tablespoon
  • brown sugar 2 tablespoon
  • butter 2 tablespoon
  • salt 1/4 teaspoon


Directions:
  1. Soak the red beans overnight.
  2. Bring the red bean and water to a boil, reduce the heat and simmer until beans are soft. Remove from stovetop.
  3. Add sugars and stir to mix well. Return to heat and bring to a boil, reduce the heat to medium, stir occasionally.
  4. When the mixture starts to thicken, reduce the heat to medium-low, stir occasionally.
  5. Add butter, mix until well combined.
  6. When the mixture thickens to a paste, remove from heat.
  7. Stir in salt. Salt well bring out the sweet flavor better.


TO MAKE THE PANCAKE
  1. Place a muffin pan on stovetop. Preheat on medium to medium-low.
  2. When the pan is preheated, pour 1 or 1 1/2 tablespoons of batter into the pan. (Depends on how thick you like your pancake.) I make 2 pancakes at a time, so I use 4 cups of the pan. (If your pan is not non-stick, lightly grease it before pouring batter in.)
  3. When the pancake starts to bubble, use the end of a chopstick to "spread" the batter out a little, create a short "wall" around.
  4. Put some red bean paste onto 2 of the pancakes. Fork the other 2 pancakes up and flip to cover the pancakes with fillings.
  5. Wait for 1-2 minutes, and turn the pancakes to its side. Cook for a few seconds. Roll for even cooking.


紅豆餅(8-10個)

餅皮麵糊
食譜修改自楊桃文化

材料:
  • 雞蛋 2 個
  • 糖 30 克
  • 鹽 2 克
  • 牛奶 100 g
  • 水 100 g
  • 香草精 6 克
  • 中筋麵粉 180 克+玉米粉 20 克(或中筋麵粉 40 克+低筋麵粉 160 克)
  • 無鋁泡打粉 3 克
  • 植物油 27 克


做法:
所有材料混合均勻,靜置一小時之後再使用。


紅豆餡
材料:
  • 紅豆 200 克
  • 水 400 cc
  • 糖 2 大匙
  • 黑糖 2 大匙
  • 無鹽奶油 2 大匙
  • 鹽 1/4 小匙


做法:
  1. 前一晚將紅豆泡水過夜。
  2. 將紅豆連同水一起煮開,轉小火慢煮到熟透。(我用電鍋外鍋一杯水,共煮兩次)
  3. 加入兩種糖混合均勻,放回爐子上加熱到滾,轉為中火,時不時攪拌。
  4. 紅豆湯愈來愈濃稠的時候,將火轉為中小火,持續攪拌。
  5. 加入奶油,拌勻。
  6. 紅豆愈來愈濃稠變成泥餡狀時,關火、離火。
  7. 加入鹽拌勻,鹽可以帶出紅豆的香甜。


紅豆餅的製作
  1. 將馬芬烤盤放在爐子上中火~中小火預熱。
  2. 烤盤預熱完成之後(可以用手甩幾滴水下去,水珠會跳舞就是預熱好了),在烤盤洞中倒入1-1.5大匙的麵糊(取決於想要多厚的紅豆餅)。我一次做兩個紅豆餅,就用四個洞。
  3. 當麵糊開始起泡時,用一根筷子的後端畫圓、將麵糊微微展開,做出一點麵糊壁。
  4. 在其中兩團麵糊上放上適量餡料,用叉子將另外兩團麵糊叉起、翻面覆蓋在餡料上。
  5. 1-2分鐘之後將紅豆餅翻轉立起,煎烤側面幾秒鐘。


Left: made with 1 tablespoon of batter each side. Right: 1 1/2 tablespoon of batter.
左邊是每次用1大匙麵糊的厚度,右邊是 1.5大匙。

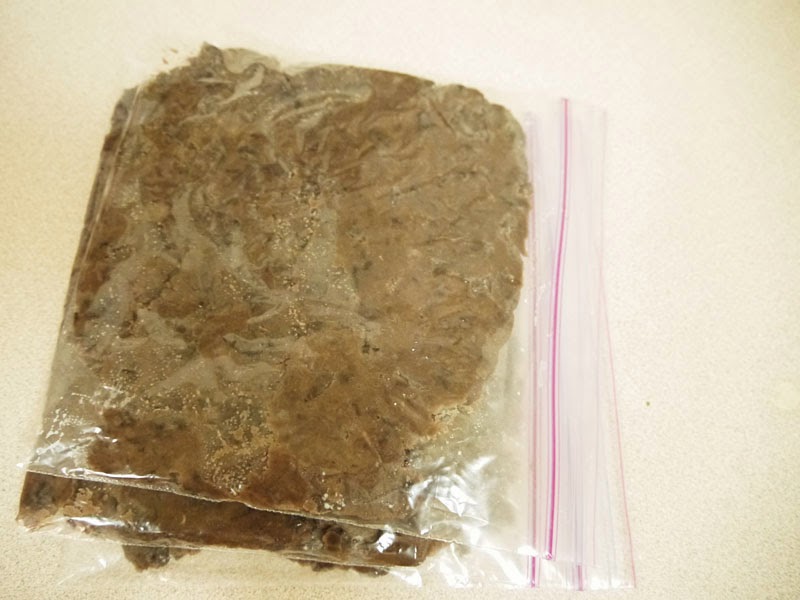
The rest red bean paste can be frozen for later use.
用不完的紅豆餡可以冷凍起來。

Pin It

1/02/2014

楓糖燕麥吐司 Oatmeal Maple Bread


This bread is good without any spread. But it also goes well with peanut butter, jam, or butter.

It's my first time adding wheat bran in baking. Wheat bran is high in dietary fiber, vitamin Bs, folic acid, manganese, magnesium. It's also a good source of iron, zinc, omega-3 and omega-6 fatty acids.

這款麵包單吃就很好吃,想抹醬的話花生醬、果醬、奶油都很適合。

第一次在烘焙中加入了麥麩,麥麩富含膳食纖維、多種維他命 B、葉酸、錳、鎂,同時也是鐵、鋅、omega-3和 omega-6脂肪酸的優質來源。


Oatmeal Maple Bread (1 9x4 loaf)
Recipe adapted from The New Artisan Bread in Five Minutes a Day by Jeff Hertzberg and Zoë François

Ingredients:
  • water 313 g, 100F
  • yeast 5 g
  • salt 8 g
  • maple syrup 85 g, plus more for brushing the dough
  • oil 27 g
  • wheat bran 28 g
  • old-fashion oats 70 g
  • whole wheat flour 65 g
  • all-purpose flour 285 g

Directions:
  1. Mix all the ingredients in a container. Cover and let it rise at room temperature for 2 hours.
  2. After 1st rise, keep making this bread or refrigerate it for up to 7 days.
  3. Lightly grease a 8 1/2 x 4 1/2 loaf pan if needed. (I use my 9x4x4 pullman pan without lid.)
  4. Scrape the dough out onto a floured work surface. Dust with more flour and quickly shape it into a ball. Then shape the dough into a loaf and put it into the loaf pan. Cover with plastic wrap and let it rise for 90 minutes.
  5. Preheat the oven to 350F. Brush some maple syrup on the top of the dough. Bake for 50-60 minutes.
  6. Cool on a cooling rack for 2 hours.

燕麥楓糖吐司(9x4吋一條)
原食譜來自 The New Artisan Bread in Five Minutes a Day, 作者 Jeff Hertzberg及 Zoë François

材料:
  • 溫水 313 克
  • 乾酵母 5 克
  • 鹽 8 克
  • 楓糖漿 85 克,外加少許刷在麵團上
  • 植物油 27 克
  • 麥麩 28 克
  • 燕麥片 70 克
  • 全麥麵粉 65 克
  • 中筋麵粉 285 克

做法:
  1. 所有材料混合均勻,加蓋靜置於室溫下發酵 2小時。
  2. 第一次發酵完成後可以接著烘焙,或是放入冰箱冷藏,在七天內用掉。
  3. 將一個 8 1/2 x 4 1/2 吋的吐司烤模內壁刷上一層薄薄的油脂(我用 9x4x4的帶蓋吐司模,不加蓋)
  4. 將麵團刮出到撒了些許麵粉的檯面,表面再撒些麵粉以免黏手,迅速將麵團整形成圓形,再接著整成橢圓放入烤模,用保鮮膜輕輕覆蓋,靜置 90分鐘做第二次發酵。
  5. 烤箱預熱 350F/175C。麵團表面輕輕刷上一層楓糖漿,送入烤箱烘烤 50-60分鐘。
  6. 出爐於架上放涼 2小時。


Pin It
Related Posts Plugin for WordPress, Blogger...